So, you’re planning a birthday bash and want to make that cake extra special, huh? Forget the fancy bakeries and expensive fondant art; let’s talk about something way more fun and budget-friendly: printable happy birthday banners for cakes! These little decorations are a game-changer. Theyre super easy to use, endlessly customizable, and can transform a plain-Jane cake into a show-stopping centerpiece. Think of it as giving your cake a stylish hat! But where do you start? Well, that’s exactly what we’re diving into. Well explore everything from finding the perfect design to printing it out like a pro, choosing the best materials, and even putting it all together for a picture-perfect finish. Forget scouring Pinterest for hours consider this your one-stop shop for all things printable banners. We’ll tackle the tech-y stuff without the tech-y jargon, promise! Whether you’re a seasoned party planner or a newbie baker, youll find something to love here. Get ready to unleash your inner Martha Stewart (but, like, the chill, modern version) and create a cake that’s not only delicious but Instagram-worthy too. So grab a slice of inspiration, and lets get this party started! We’ll cover the latest trends, design tips, and even some troubleshooting advice to ensure your banner is a smash hit.
Finding the Perfect Printable Banner Design
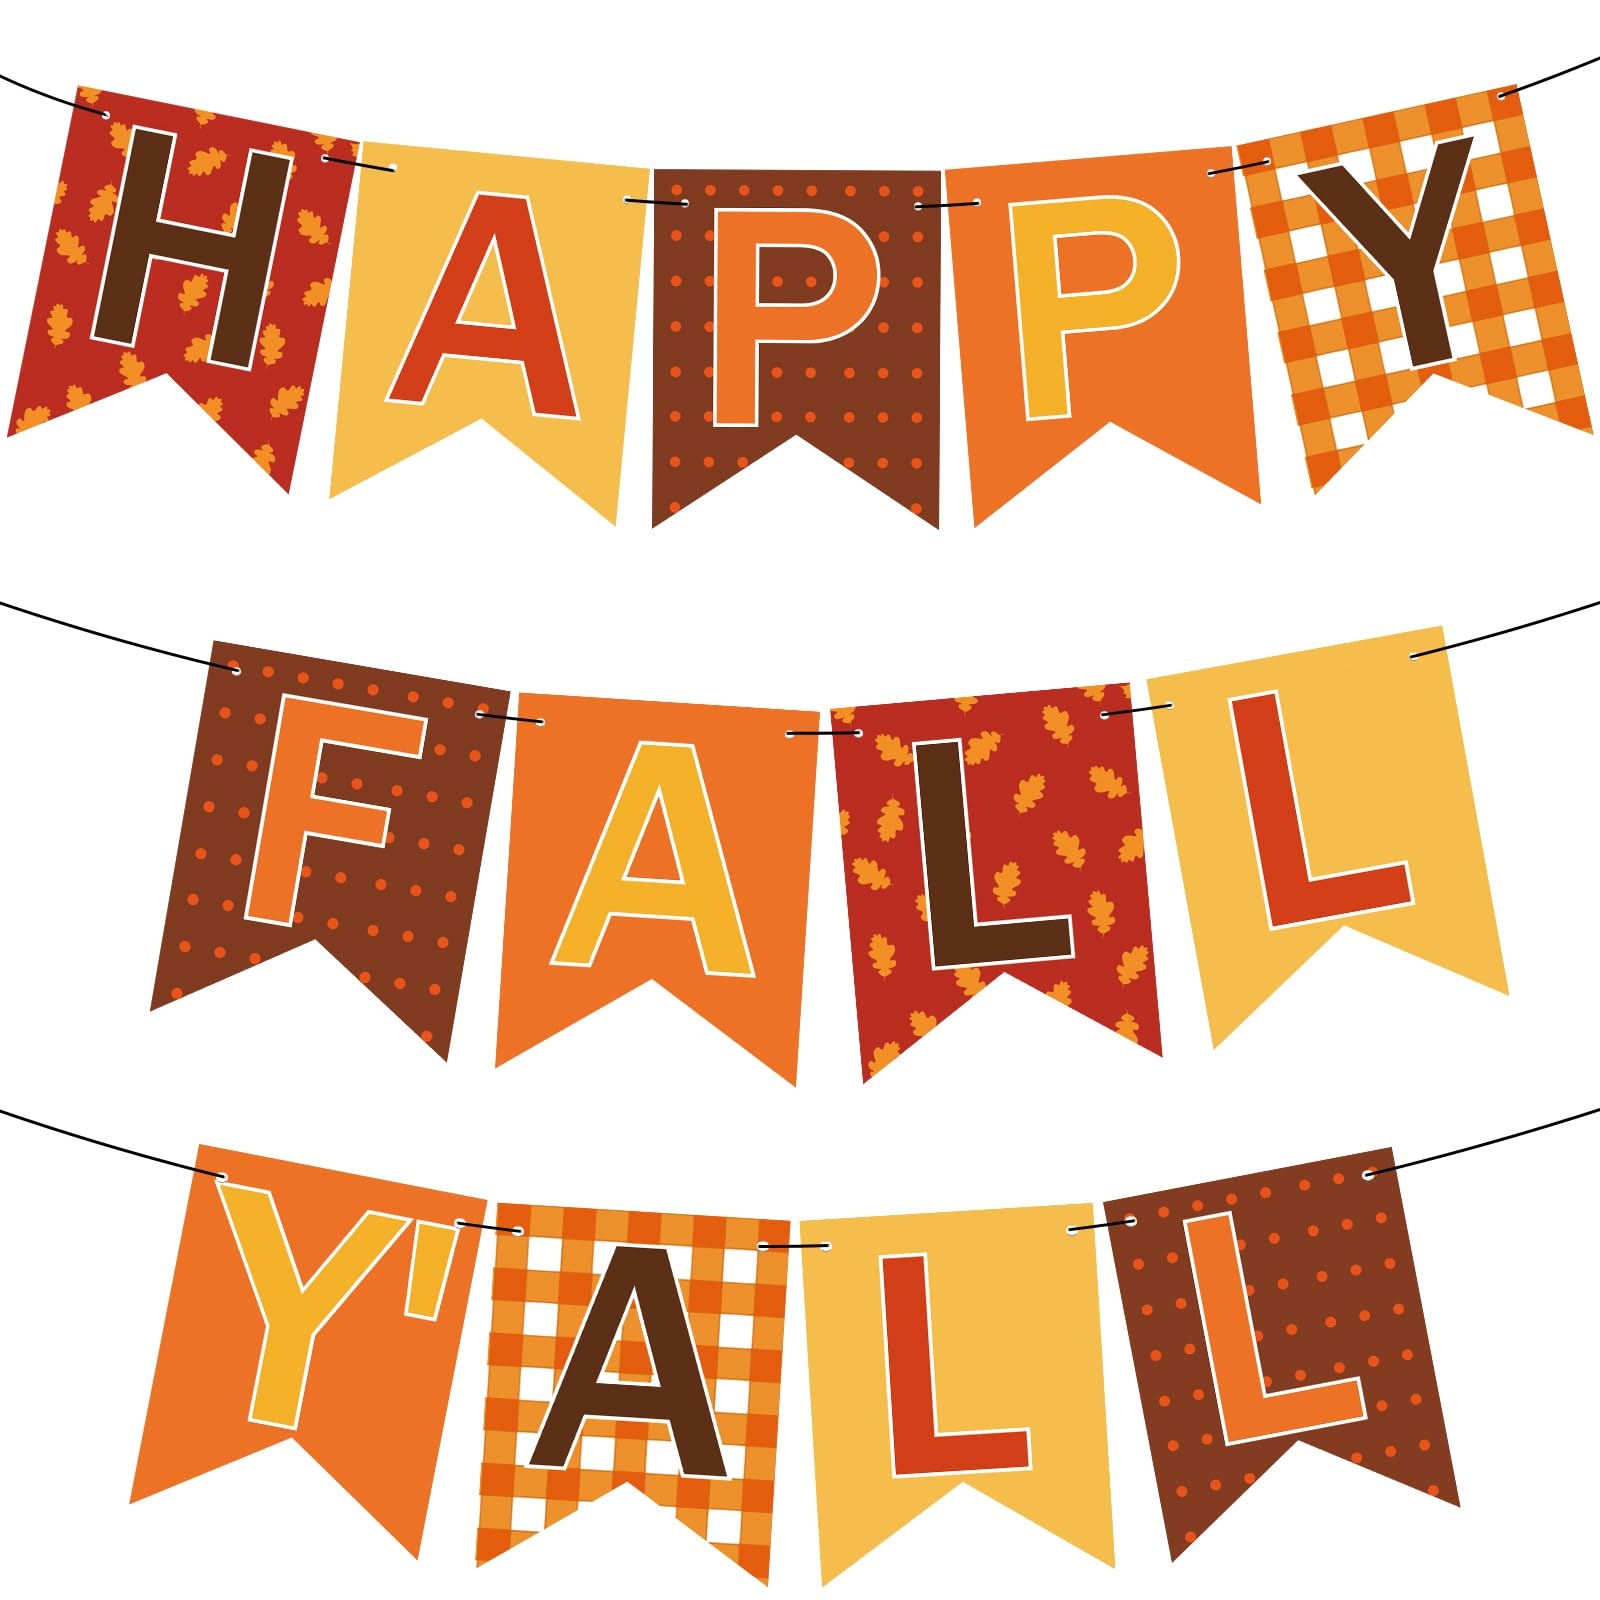
Alright, let’s talk design! The first step to a fabulous cake banner is finding the right template. Luckily, the internet is bursting with options you just need to know where to look. Free resources are a goldmine! Websites like Canva, Freepik, and Pinterest offer a huge variety of free printable banner templates. From classic “Happy Birthday” designs to funky geometric patterns and adorable cartoon characters, youre bound to find something that tickles your fancy. Plus, many of these templates are customizable, so you can tweak the colors, fonts, and even add the birthday person’s name for that extra personal touch. Paid options are also worth considering if you’re looking for something truly unique or high-resolution. Etsy is a fantastic place to find professionally designed banner templates from independent artists. You’ll often find incredibly intricate and beautiful designs that you won’t see anywhere else. Another good bet is Creative Market, which offers a wide selection of premium design assets. When choosing a design, think about the overall theme of your party and the personality of the birthday honoree. Are they into superheroes? Go for a comic book-themed banner. Are they more of a minimalist? Opt for a simple, elegant design with clean lines. And don’t forget about color! Choose colors that complement the cake’s frosting and the overall party decorations. A little bit of planning goes a long way in creating a banner that truly wows. Pay attention to the file format. Most templates come in PDF or JPG format, but you’ll want to make sure your printer can handle the file. And always check the resolution! A high-resolution image will ensure that your banner prints out crisp and clear, without any pixelation.
1. Customizing Your Banner for a Personal Touch
So you’ve found a template you love awesome! Now it’s time to put your own spin on it. Customization is key to making your banner truly special. Start by changing the text. Most templates allow you to easily edit the “Happy Birthday” message to include the birthday person’s name or a fun nickname. Get creative with it! You could even add a funny quote or inside joke that only the birthday person will understand. Experiment with different fonts. The font can completely change the look and feel of your banner. A playful, handwritten font is perfect for a kid’s party, while a elegant script font adds a touch of sophistication to an adult celebration. Canva and other design tools offer a huge range of fonts to choose from, so have fun playing around until you find the perfect one. Don’t be afraid to tweak the colors. If the template’s colors don’t quite match your party theme, you can easily change them. Use a color picker tool to select colors that complement the cake and other decorations. You can also add your own images or graphics to the banner. This is a great way to personalize it even further. For example, you could add a photo of the birthday person, a picture of their favorite hobby, or a fun cartoon character. Just make sure the images are high-resolution so they don’t look blurry when printed. Once you’ve customized your banner, take a step back and look at the overall design. Does it look balanced and visually appealing? Are all the elements working together harmoniously? If not, make some adjustments until you’re happy with the result.
Printing Your Banner Like a Pro
Now that you’ve got the perfect design, it’s time to bring it to life! Printing your banner properly is crucial for a professional-looking result. Choosing the right paper is key. Regular printer paper is too flimsy for a cake banner. Opt for cardstock instead. Cardstock is thicker and more durable, so your banner will hold up better on the cake. White cardstock is a classic choice, but you can also experiment with colored cardstock to match your party theme. Matte cardstock is a good option if you want a more subtle, understated look, while glossy cardstock adds a touch of shine. Print settings matter! Before you hit the print button, make sure your printer settings are optimized for the best possible results. Select the “high quality” or “best” print setting to ensure that your banner prints out with crisp, vibrant colors. Also, make sure the paper type is set to “cardstock” or “heavyweight paper.” This will tell your printer to adjust the ink flow and prevent smudging. Test prints are your friend! Before you print the entire banner, do a test print on a piece of scrap paper. This will allow you to check the colors, size, and overall quality of the print. If anything looks off, you can make adjustments to your design or printer settings before wasting a lot of cardstock. Cutting options: Precision is key! Once your banner is printed, it’s time to cut it out. Use a sharp pair of scissors or a craft knife and a ruler for precise cuts. A paper trimmer can also be helpful for cutting straight lines. Cut along the edges of the design, leaving a small border if desired. If your banner has intricate shapes, consider using a die-cutting machine for perfectly clean cuts.
2. Choosing the Right Materials for Durability and Style
The materials you choose can significantly impact the durability and overall look of your banner. Beyond cardstock, explore options for adding extra flair and resilience. Consider laminating your banner for added protection. Laminating your banner will make it waterproof and tear-resistant, so it can withstand any accidental spills or bumps. You can laminate your banner at home using a laminating machine or take it to a print shop. Clear adhesive sheets offer a similar level of protection. These sheets are easy to apply and can add a subtle sheen to your banner. They’re also a great option if you don’t have a laminating machine. Wooden skewers or paper straws make excellent banner supports. Attach the banner pieces to skewers or straws using glue or tape. Wooden skewers are sturdy and can be easily inserted into the cake, while paper straws add a pop of color and are a more eco-friendly option. String or twine adds a rustic touch. If you’re hanging your banner between two skewers or straws, use string or twine to connect the pieces. Choose a color that complements the banner design. Baker’s twine is a popular choice for its charming, homespun look. Glitter and embellishments add sparkle and personality. If you want to make your banner extra festive, add some glitter, sequins, or other embellishments. Use craft glue to attach the embellishments to the banner pieces. Just be careful not to overdo it a little bit of sparkle goes a long way.
Assembling Your Banner for a Picture-Perfect Cake
The final step is putting it all together and creating a banner that looks professionally made. Heres a breakdown of the most effective assembly techniques. Attaching the banner pieces to skewers or straws securely is crucial. Use a strong adhesive, such as hot glue or double-sided tape, to attach the banner pieces to the skewers or straws. Make sure the banner pieces are centered on the skewers or straws and that they’re securely attached. For added stability, you can wrap a small piece of tape around the skewer or straw where it meets the banner piece. Spacing the banner pieces evenly is a detail that elevates the final look. When stringing the banner pieces together, make sure they’re evenly spaced. Use a ruler or measuring tape to ensure that the distance between each piece is consistent. This will create a more balanced and visually appealing banner. Securing the string or twine properly is key to keeping your banner intact. Use strong knots or tape to secure the string or twine to the skewers or straws. If you’re using tape, make sure it’s wrapped tightly around the skewer or straw to prevent the string from slipping. Positioning the banner on the cake for maximum impact requires a bit of artistry. Consider the size and shape of your cake when positioning the banner. For a round cake, you can center the banner on top or wrap it around the sides. For a rectangular cake, you can place the banner along the front edge or diagonally across the top. Use cake toppers or other decorations to balance the banner and create a cohesive look.
3. Troubleshooting Common Banner Issues
Even with the best planning, things can sometimes go wrong. Heres how to tackle common banner blunders. If your banner is sagging or drooping, you may need to reinforce it. Use thicker cardstock or laminate the banner pieces to add extra support. You can also add extra skewers or straws to hold the banner up. If the ink is smudging, try using a different type of ink or paper. Pigment-based inks are less likely to smudge than dye-based inks. You can also try printing on a smoother paper surface. If the banner is too small or too large, adjust the size settings in your design software before printing. Make sure the banner is proportional to the size of your cake. If you’re having trouble attaching the banner pieces to the skewers or straws, try using a different adhesive. Hot glue is a strong and versatile option, but it can be messy. Double-sided tape is a cleaner alternative, but it may not be as strong. If the banner is tearing, reinforce it with tape or laminate. You can also try using a different type of paper that is more durable.
Final Thoughts
So there you have it your complete guide to creating stunning printable happy birthday banners for cakes! With a little creativity and some basic supplies, you can transform any cake into a personalized masterpiece. Printable banners are not only a fun and affordable way to decorate, but they also allow you to express your creativity and add a personal touch to any celebration. Remember, the most important thing is to have fun and let your imagination run wild. Don’t be afraid to experiment with different designs, colors, and materials until you find something that you love. And don’t worry if your banner isn’t perfect it’s the thought that counts! So go ahead, unleash your inner artist and create a cake that’s as unique and special as the person you’re celebrating. With a little bit of effort, you can make their birthday truly unforgettable. And who knows, you might just discover a new passion for cake decorating along the way! Happy baking and happy decorating!
Printable Happy Birthday Banner for Cake
The preceding discourse outlined various facets of the printable happy birthday banner for cake. It explored aspects ranging from design acquisition and customization to appropriate material selection and assembly methodologies. The intent was to provide a comprehensive understanding of the process involved in creating an effective decorative element for celebratory confectionery items.
The successful implementation of a printable happy birthday banner for cake necessitates careful consideration of the factors discussed. Consistent adherence to recommended practices will yield aesthetically pleasing and structurally sound adornments, thereby enhancing the visual appeal of the celebratory confection. Further exploration into advanced printing techniques and innovative material applications may yield additional improvements in the overall quality and longevity of these decorative elements.