So, you’re planning a party, huh? Whether it’s a birthday bash, a graduation gala, or just a good ol’ fashioned get-together, you know that decorations are key. But let’s face it, store-bought decorations can be generic, overpriced, and just plain boring. That’s where the magic of DIY printable banner letters comes in! Forget those cookie-cutter banners we’re talking about crafting personalized messages that scream “YOU” and add a touch of homemade charm to any event. Think of it: you can create banners with inside jokes, heartfelt messages, or even just a string of perfectly-coordinated colors. The possibilities are as endless as your imagination! And the best part? You don’t need to be a crafting pro to pull this off. With a printer, some paper, a pair of scissors, and a little bit of creativity, you’ll be whipping up stunning banners in no time. We’re here to guide you through every step of the process, from finding the perfect printable templates to mastering the art of assembly. Get ready to ditch the store-bought stuff and unleash your inner DIY decorator! This guide is your one-stop shop for all things related to printable banner letters, filled with tips, tricks, and inspiration to help you create unforgettable celebrations. We’ll explore the best resources, the easiest techniques, and the most creative ideas to transform your events from ordinary to extraordinary.
Why Choose DIY Printable Banner Letters?
Okay, let’s be real: why should you bother with DIY banner letters when you could just grab a pre-made one from the store? Well, the answer is simple: customization, cost-effectiveness, and plain ol’ fun! First off, customization is king. With printable banner letters, you have complete control over the design. You can choose your favorite fonts, colors, and patterns to perfectly match your party’s theme. Want a banner with glittery gold letters for a glamorous New Year’s Eve party? Done! Need a banner with playful polka dots for a kid’s birthday? Easy peasy! You’re not limited to the generic options you find on store shelves. Secondly, let’s talk about your wallet. Buying pre-made banners can quickly add up, especially if you need multiple banners or want something a little more unique. Printable banner letters, on the other hand, are incredibly budget-friendly. You only pay for the template once, and then you can print as many letters as you need. Plus, you can reuse the template for future events, making it a sustainable and economical choice. And finally, let’s not forget the fun factor! Crafting your own banner letters is a surprisingly enjoyable activity. It’s a chance to get creative, unwind, and maybe even rope in some friends or family to help. There’s something incredibly satisfying about seeing your vision come to life, and knowing that you created something special with your own two hands. So, ditch the store-bought blues and embrace the joy of DIY!
1. Finding the Perfect Printable Banner Letter Templates
Now that you’re convinced about the awesomeness of DIY banner letters, it’s time to find some templates! Luckily, the internet is overflowing with options, from freebies to premium designs. But with so many choices, it can be tough to know where to start. First, consider your party’s theme and aesthetic. Are you going for a rustic, vintage vibe? Or a modern, minimalist look? This will help you narrow down your search. Websites like Etsy, Creative Market, and Design Cuts offer a wide range of premium templates created by talented designers. These templates often come with high-resolution files, customizable options, and commercial licenses (if you’re planning to sell your banners). For budget-conscious crafters, there are also plenty of free resources available. Websites like Canva, Freepik, and Pinterest offer a variety of free banner letter templates that you can download and use. Just be sure to check the licensing terms before using them, as some free templates may have restrictions on commercial use. When searching for templates, pay attention to the file format. Most templates come in PDF or JPEG format, which are easy to print. Also, consider the size of the letters. Some templates offer multiple sizes, while others are only available in one size. Choose a size that works well for your banner and printing setup. Finally, don’t be afraid to get creative! You can always customize existing templates to make them your own. Change the colors, add patterns, or even incorporate your own artwork. The possibilities are endless!
2. Printing Your Banner Letters
Alright, you’ve found your perfect templates now it’s time to bring those banner letters to life! Printing might seem straightforward, but a few key tips can make a big difference in the final result. First and foremost, choose the right paper. Regular printer paper will work in a pinch, but for a more professional look, opt for cardstock. Cardstock is thicker and more durable than regular paper, which means your banner letters will hold up better and look more polished. White cardstock is a classic choice, but you can also experiment with colored cardstock to add some extra flair to your banner. Next, pay attention to your printer settings. Make sure your printer is set to “high quality” or “best” for the sharpest, most vibrant prints. Also, check the paper type setting and select “cardstock” or a similar option if you’re using cardstock. This will help your printer adjust the ink flow and prevent smudging. Before printing all your letters, do a test print to make sure everything looks as expected. This will save you time, ink, and paper in the long run. Once you’re ready to print, consider printing multiple letters per page to save paper. Most PDF readers allow you to adjust the number of pages printed per sheet. Just be sure to leave enough space between the letters so you can easily cut them out. If you’re printing a large banner, you might want to consider using a print shop. Print shops often offer better quality prints and a wider range of paper options than home printers. Plus, they can handle large print jobs quickly and efficiently.
3. Assembling Your DIY Banner
You’ve printed your banner letters congratulations! Now comes the fun part: assembly. This is where your banner really starts to take shape, so take your time and enjoy the process. First, gather your supplies. You’ll need scissors or a craft knife, a ruler, a cutting mat (if using a craft knife), and some string or ribbon. You’ll also need something to create holes in the letters for hanging. A hole punch or a sharp needle will work just fine. Start by carefully cutting out each banner letter. If you’re using scissors, follow the outlines as closely as possible. If you’re using a craft knife, use a ruler as a guide for straight lines. Once you’ve cut out all the letters, it’s time to create the holes for hanging. Decide where you want the holes to be placed on each letter. Usually, two holes at the top corners work best. Use a hole punch or a sharp needle to create the holes. If you’re using a needle, place the letter on a soft surface, like a piece of foam, to protect your table. Now it’s time to string your banner together! Cut a length of string or ribbon that’s long enough to accommodate all your letters, with some extra length on each end for hanging. Thread the string through the holes in each letter, making sure to keep the letters in the correct order. Once all the letters are strung together, adjust the spacing between them to create a visually appealing banner. Finally, hang your banner! You can use tape, tacks, or clips to attach the banner to a wall, doorway, or table. For a more festive look, consider adding some embellishments to your banner, such as tassels, pom-poms, or balloons. And there you have it a beautiful, personalized DIY banner that’s sure to impress your guests!
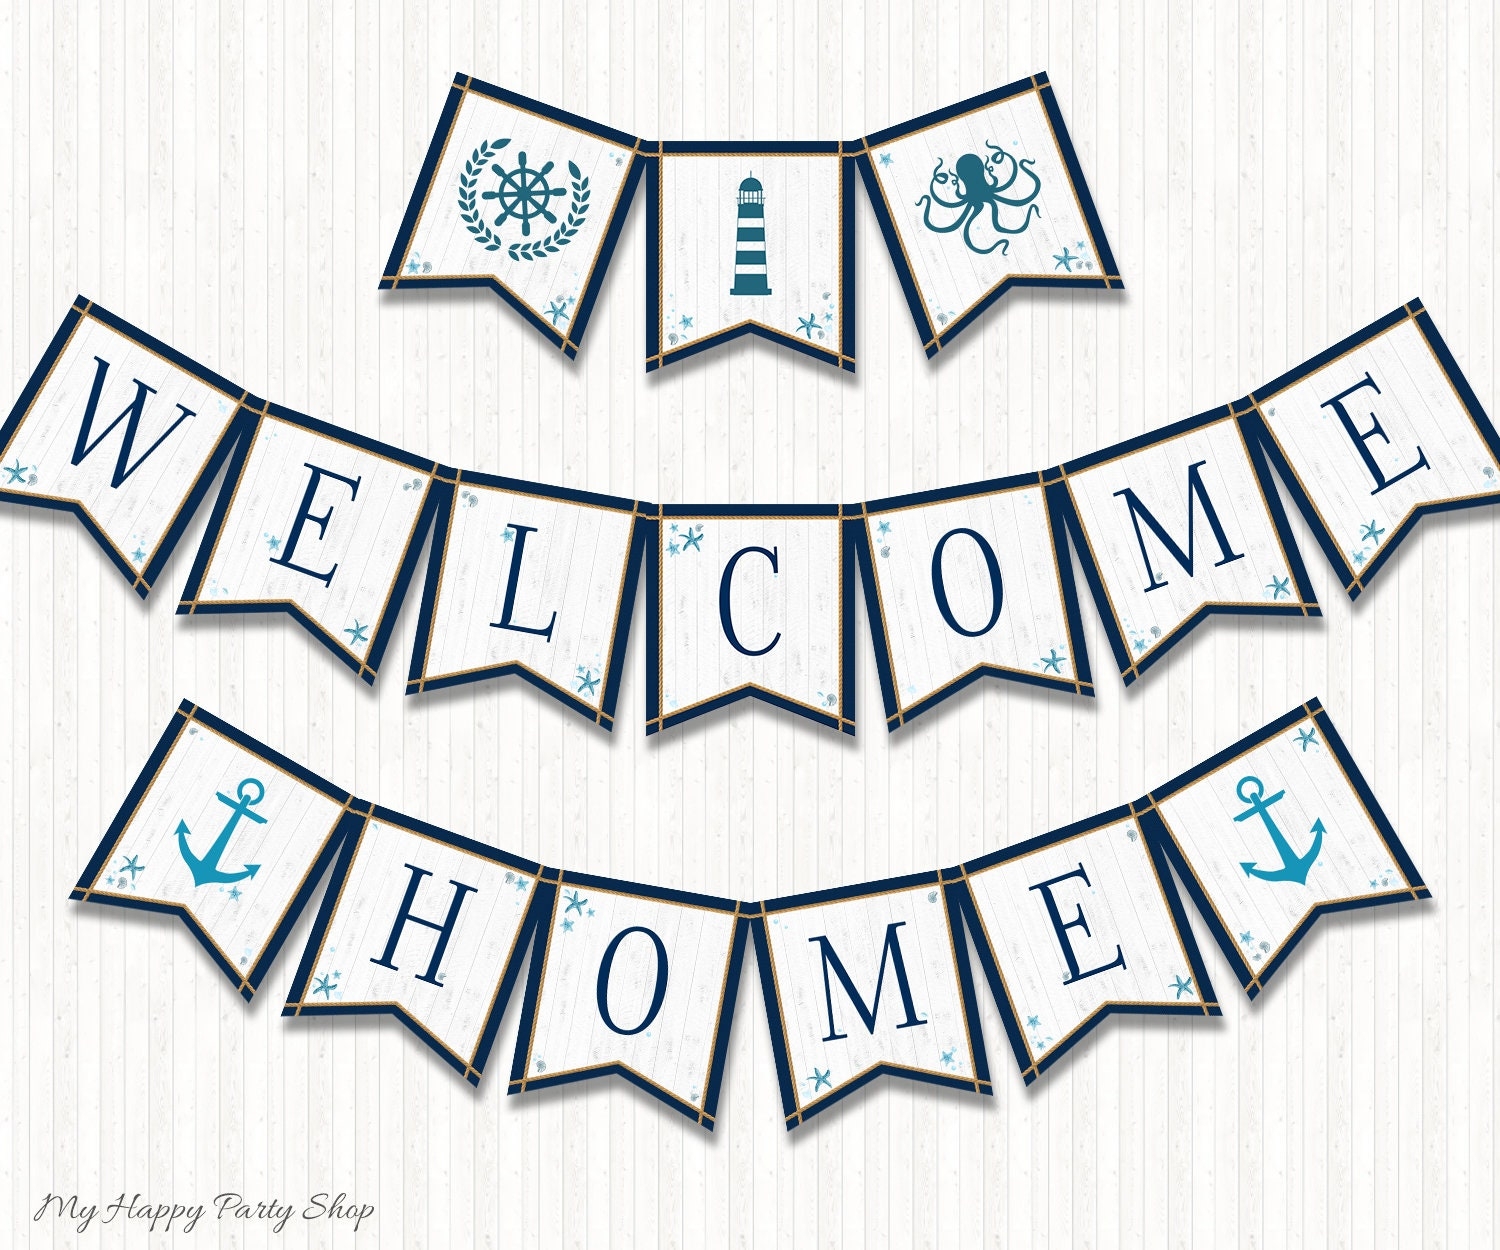
DIY Printable Banner Letters
The preceding discourse has explored the multifaceted nature of creating decorations using downloadable templates. Examination encompassed template selection, printing techniques, and assembly methods. Crucially, the process allows for significant customization, enabling the tailoring of decorations to specific events and thematic requirements. The utilization of such methods offers a cost-effective alternative to purchasing pre-fabricated products while simultaneously granting users considerable control over the aesthetic outcome.
Given the accessibility and adaptability of digital resources, the practice of creating customized displays offers a practical solution for individuals seeking personalized decorations. Further advancements in printing technology and template design are likely to enhance the ease and quality of these DIY projects, solidifying their position as a valuable tool for event planners and decorators alike. The ongoing evolution of these resources will undoubtedly shape future trends in personalized celebrations and event design.