Okay, let’s be real. The holidays are supposed to be about joy, togetherness, and maybe a little bit of delicious overeating. What they shouldn’t be about is stressing over expensive decorations that you’ll probably only use once. That’s where printable holiday banners come to the rescue! Forget those generic, overpriced banners at the store. We’re talking about personalized, budget-friendly decorations that you can whip up in an afternoon (or even less!). Imagine the possibilities: a banner with your family’s quirky nicknames, a festive message tailored to your specific celebration, or even a custom design featuring your pet dressed up as an elf. The beauty of printable banners is that they give you complete creative control. You can find tons of free templates online, use design software to create your own from scratch, or even tweak existing templates to perfectly match your holiday theme. Think beyond just “Merry Christmas” or “Happy Holidays.” Get creative with your messages! Add inside jokes, personalize it with family names, or even create a banner that celebrates a specific tradition you have. Plus, with printable banners, you’re not stuck with the same decorations year after year. You can easily change things up and keep your holiday decor fresh and exciting. This guide will walk you through everything you need to know, from finding the perfect templates to printing and assembling your banner like a pro. So, ditch the holiday stress and get ready to unleash your inner crafting guru!
Why Choose Printable Holiday Banners? (Besides Being Awesome)
Seriously, though, printable holiday banners aren’t just a fun and easy way to decorate; they’re also incredibly practical. Let’s break down some of the biggest benefits. First and foremost, we’re talking about serious cost savings. Compared to buying pre-made banners, the cost of printing your own is minimal. You’re basically just paying for paper and ink, and you can even save on those by using recycled paper or printing in draft mode. Think about all the extra cash you’ll have for gifts (or, let’s be honest, holiday treats for yourself). Secondly, the customization options are endless. With pre-made banners, you’re stuck with whatever designs and messages the store has in stock. But with printable banners, you can create literally anything you can imagine. Want a banner that features your family’s faces as snowmen? Go for it! Want a banner that wishes your dog a happy howl-iday? Absolutely! The only limit is your imagination. Then there’s the convenience factor. No need to brave the crowded stores and long checkout lines. You can create and print your banner from the comfort of your own home, whenever you have a spare moment. Perfect for those last-minute holiday preparations! And let’s not forget the eco-friendly aspect. By printing your own banners, you’re reducing your carbon footprint. You can use recycled paper, avoid unnecessary packaging, and even reuse your banners year after year. Plus, it’s a fun and engaging activity for the whole family. Get the kids involved in designing and assembling the banner, and turn it into a cherished holiday tradition. So, what are you waiting for? It’s time to embrace the world of printable holiday banners and discover the joy of creating your own personalized holiday magic.
1. Finding the Perfect Printable Banner Template (Or Creating Your Own!)
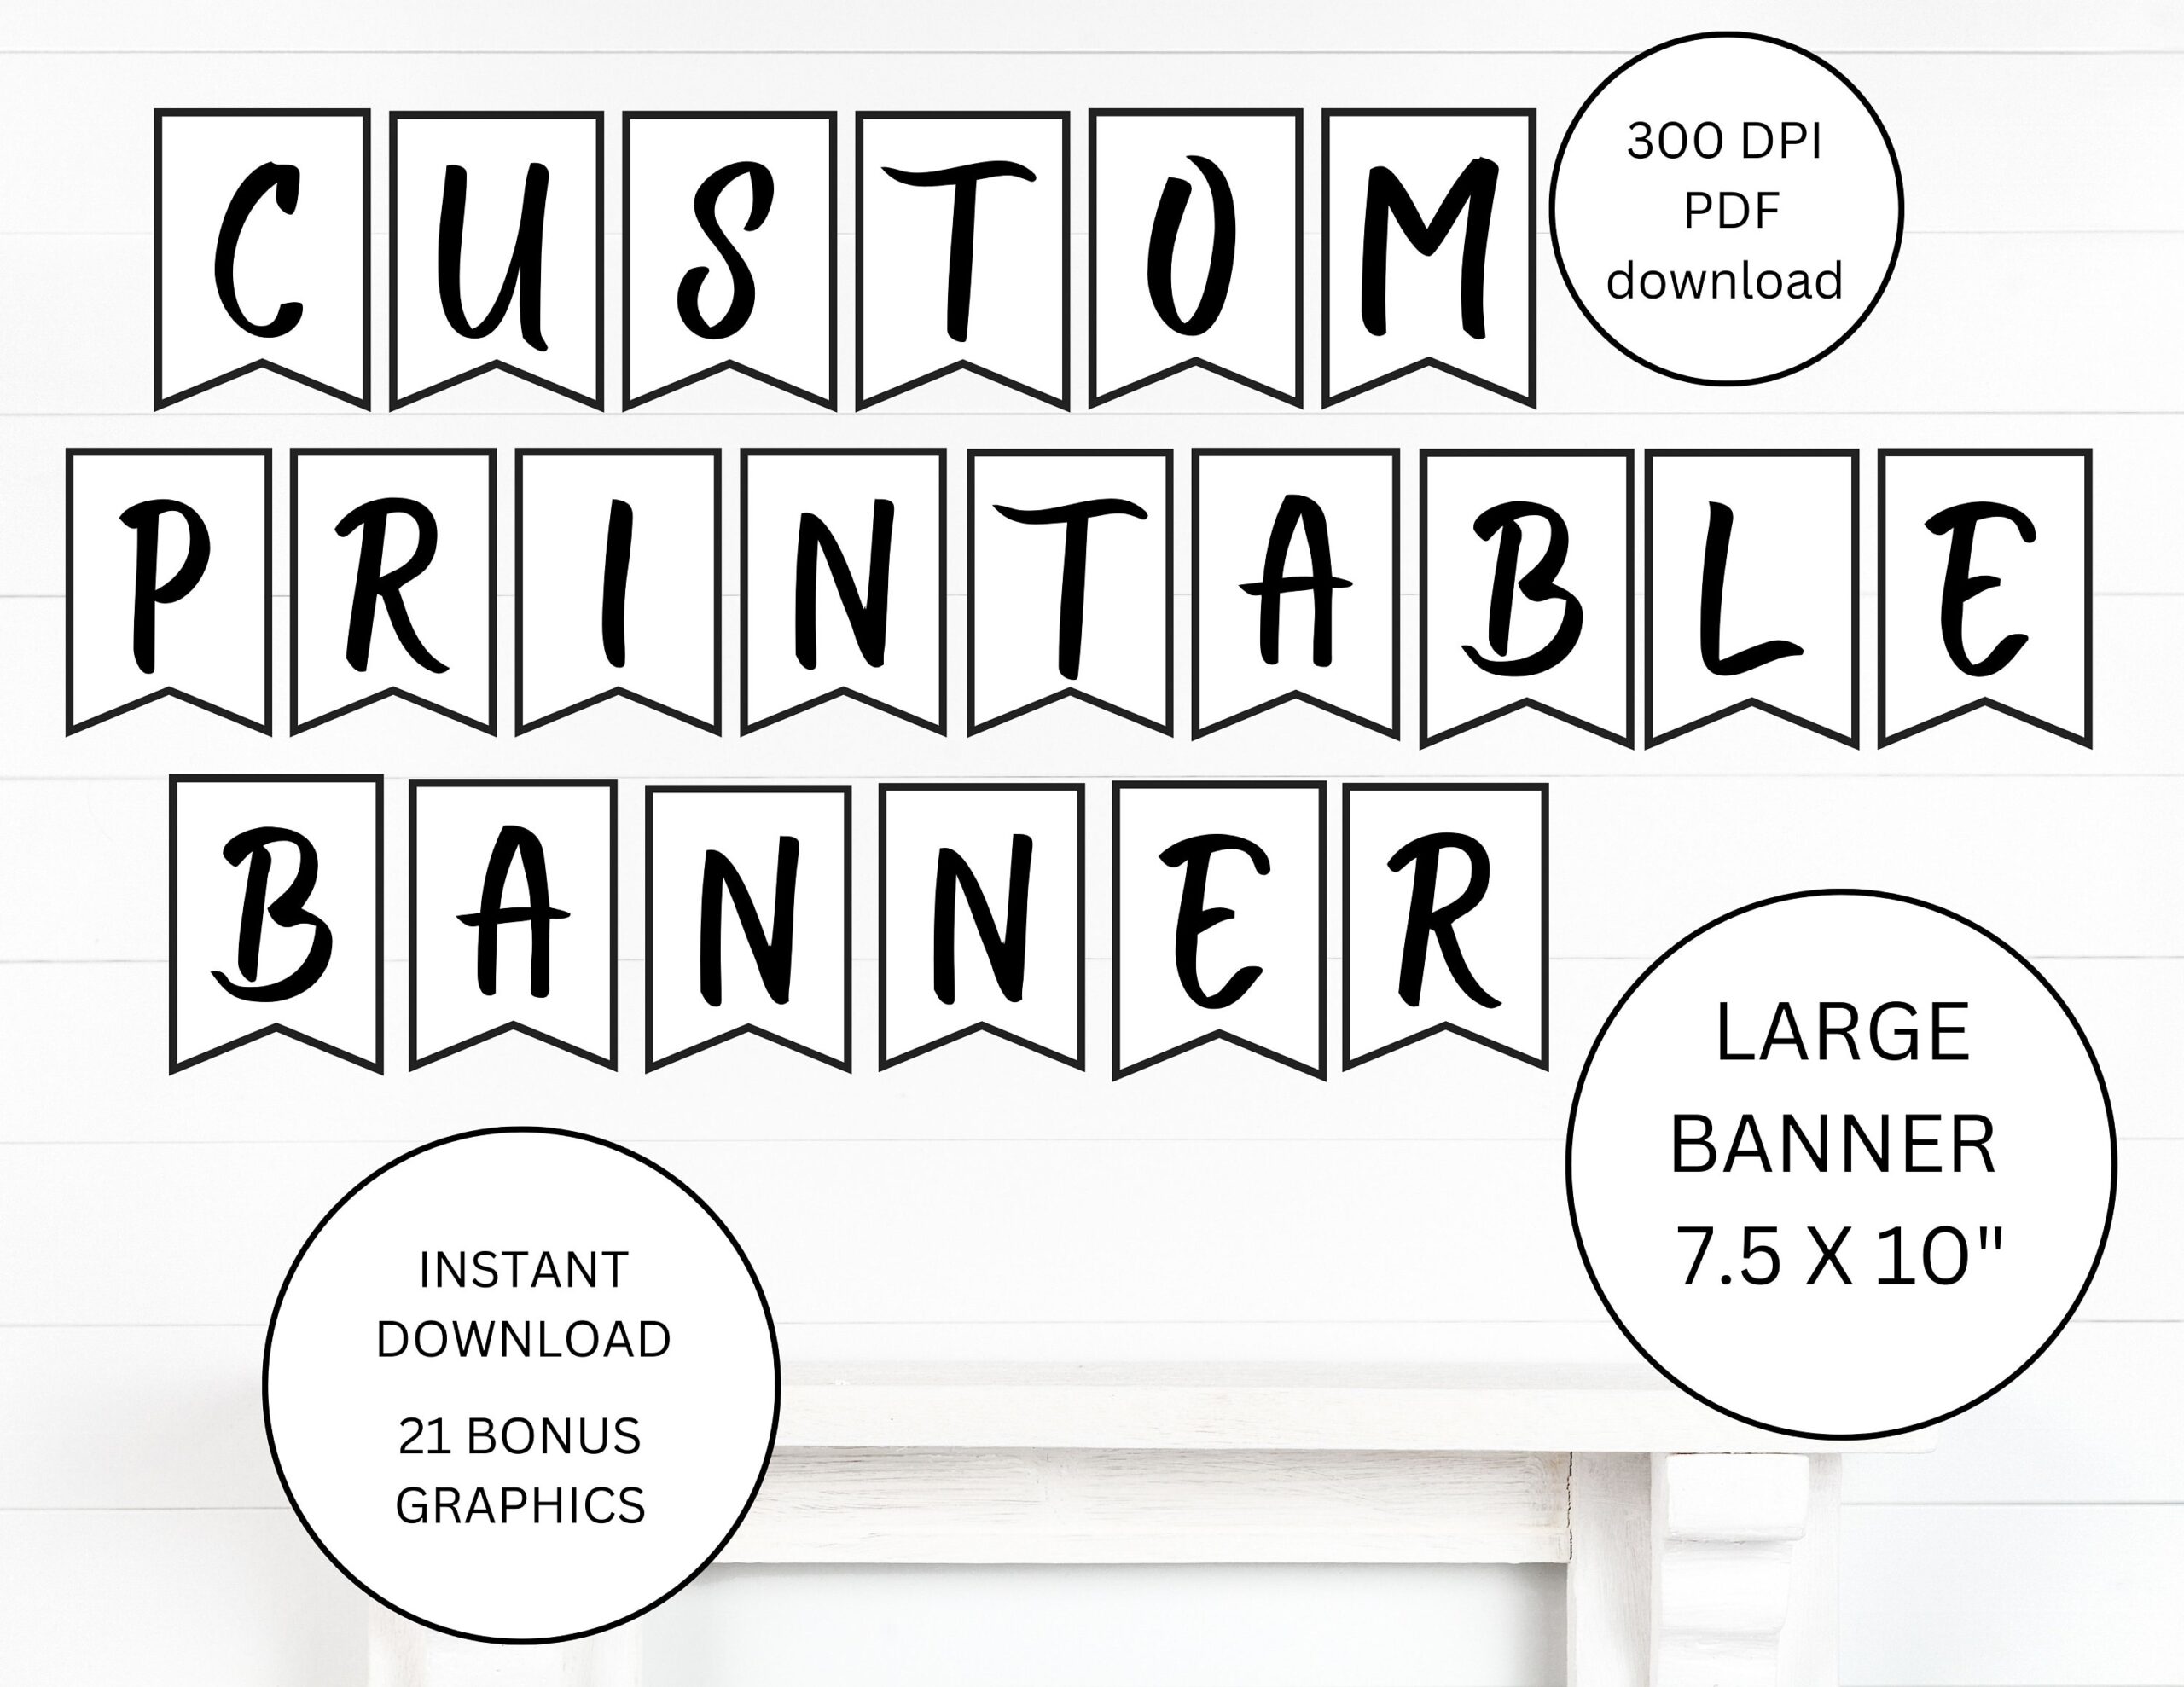
Okay, so you’re convinced that printable holiday banners are the way to go. Now, the big question: where do you find those amazing templates? Luckily, the internet is overflowing with options. There are tons of websites that offer free printable banner templates for every holiday imaginable. Websites like Canva, Greetings Island, and even Pinterest are great places to start. Just search for “free printable holiday banner templates,” and you’ll be overwhelmed with choices. When browsing templates, consider your holiday theme, color scheme, and the overall aesthetic you’re going for. Do you want something classic and elegant, or something fun and whimsical? Do you want a banner that’s simple and minimalist, or one that’s bold and colorful? Pay attention to the size and shape of the banner pieces, as well as the font and graphics used. If you can’t find a template that’s exactly what you’re looking for, don’t be afraid to customize it! Most templates are editable, so you can change the colors, fonts, and messages to suit your needs. You can also add your own photos or graphics to make it even more personalized. If you’re feeling extra creative, why not design your own banner from scratch? You can use design software like Adobe Illustrator, Photoshop, or even free online tools like Canva. Start with a blank canvas and let your imagination run wild. Experiment with different layouts, fonts, and graphics until you create a banner that’s truly unique. Don’t be afraid to try new things and have fun with it! The most important thing is to create a banner that reflects your personal style and celebrates the holidays in a way that’s meaningful to you. Remember to save your template as a high-resolution PDF file to ensure the best printing quality.
Before you hit print, there are a few things to consider. First, think about the type of paper you want to use. Regular printer paper will work fine, but for a more durable and professional-looking banner, consider using cardstock or photo paper. Cardstock is thicker and more rigid than regular paper, which will help your banner hold its shape and resist tearing. Photo paper has a glossy finish that will make your colors pop and your banner look extra vibrant. If you’re planning to hang your banner outdoors, you’ll want to use waterproof paper or laminate the printed pieces to protect them from the elements. Next, check your printer settings. Make sure you’re printing at the highest possible resolution for the best image quality. Also, make sure your printer is set to print at the correct paper size. If you’re printing a banner with multiple pieces, you’ll want to make sure they’re aligned correctly. You can use the “print preview” feature to check the alignment before you print. To save ink, consider printing in draft mode or using a black and white printer. If you’re printing a banner with a lot of color, you may want to consider taking it to a professional printing service. They can print your banner on high-quality paper with vibrant colors that will last for years. Once you’ve printed your banner, it’s time to assemble it! Cut out each banner piece carefully, following the outlines. You can use scissors or a paper cutter for this. If you want to add extra reinforcement, you can laminate the banner pieces before you cut them out. This will make them more durable and resistant to tearing. Now, punch holes at the top of each banner piece. You can use a hole punch or a sharp object like a needle or awl. Make sure the holes are evenly spaced and aligned. Finally, string the banner pieces together using ribbon, twine, yarn, or string. You can get creative with your stringing material! Use a festive ribbon or a colorful yarn to add extra flair to your banner. Once your banner is assembled, it’s time to hang it up and enjoy your festive creation!
2. Assembling and Displaying Your Printable Holiday Banner Like a Pro
You’ve printed your masterpiece; now it’s time to bring it to life! Assembling your printable holiday banner is easier than you might think, and a few simple tricks can take it from DIY to display-worthy. First, gather your supplies: scissors or a paper cutter, a hole punch, and your chosen string. For stringing, consider ribbon, twine, yarn, or even fishing line for a more invisible look. The choice depends on your banner’s style and your personal preference. Before cutting, consider laminating the banner pieces. This will not only protect them from wear and tear but also give them a more professional, polished look. If you don’t have a laminator, you can use clear packing tape to cover the front and back of each piece. When cutting, precision is key. Use a sharp pair of scissors or a paper cutter to carefully cut along the outlines of each banner piece. A clean cut will make your banner look much neater and more professional. Next, punch holes in the top corners of each banner piece. Make sure the holes are evenly spaced and aligned so your banner hangs straight. You can use a regular hole punch or a smaller one for a more delicate look. Now comes the fun part: stringing your banner! Start by threading the string through the first hole of the first banner piece. Leave a generous amount of string at the beginning so you can easily hang your banner. Then, thread the string through the second hole of the first banner piece, and continue threading it through the holes of the remaining banner pieces. Make sure the banner pieces are evenly spaced along the string. You can use clothespins or clips to hold the pieces in place while you’re stringing them. Once your banner is assembled, it’s time to hang it up and admire your handiwork! Consider the backdrop behind your banner. A plain wall will make your banner stand out, while a busy background might make it harder to see. Play around with different placements until you find the perfect spot. With a little creativity and attention to detail, you can create a stunning printable holiday banner that will impress your friends and family and add a touch of festive cheer to your home.
Tips and Tricks for Long-Lasting Holiday Banner Cheer
So, you’ve crafted the perfect printable holiday banner congratulations! But how do you ensure your festive creation lasts throughout the season and beyond? A few clever tips and tricks can keep your banner looking its best, year after year. First, consider the environment where you’ll be displaying your banner. Direct sunlight can fade the colors over time, so try to hang it in a shaded area or use UV-resistant paper and ink. Similarly, humidity can warp the paper, so avoid displaying your banner in damp or humid areas like bathrooms or kitchens. For outdoor banners, weatherproofing is essential. Laminating each piece is the best defense against rain, snow, and wind. If you don’t have a laminator, you can use clear packing tape to create a protective layer. Another option is to print your banner on waterproof paper, which is specifically designed to withstand the elements. When storing your banner, roll it up carefully to prevent creases and wrinkles. You can also place it in a plastic bag or container to protect it from dust and moisture. Store your banner in a cool, dry place away from direct sunlight. If you plan to reuse your banner next year, consider reinforcing the holes with metal grommets. This will prevent the holes from tearing and make your banner more durable. You can find grommets at most craft stores and hardware stores. To keep your banner looking fresh and clean, dust it regularly with a soft cloth or brush. Avoid using harsh chemicals or cleaning products, as these can damage the paper and ink. With a little care and attention, your printable holiday banner will bring joy and cheer for many holidays to come. Don’t be afraid to experiment with different materials, techniques, and designs to create truly unique and memorable decorations. The possibilities are endless, so let your creativity shine and make this holiday season extra special!
Conclusion
The preceding exploration detailed various aspects of printable holiday banner creation and utilization. From cost-effectiveness and customization to printing techniques and assembly, the information presented underscores the versatility and accessibility of this decorative approach. The capacity to personalize celebratory messaging and imagery, coupled with readily available resources, positions printable holiday banner solutions as a practical alternative to commercially produced decorations.
Considering the evolving landscape of personalization and resource consciousness, the application of printable holiday banner solutions will likely expand. Individuals and organizations seeking customizable, budget-conscious decorations may find significant value in embracing these techniques, resulting in more engaging and unique holiday displays. Further exploration of eco-friendly printing options and innovative design approaches could further enhance the value proposition of this method.